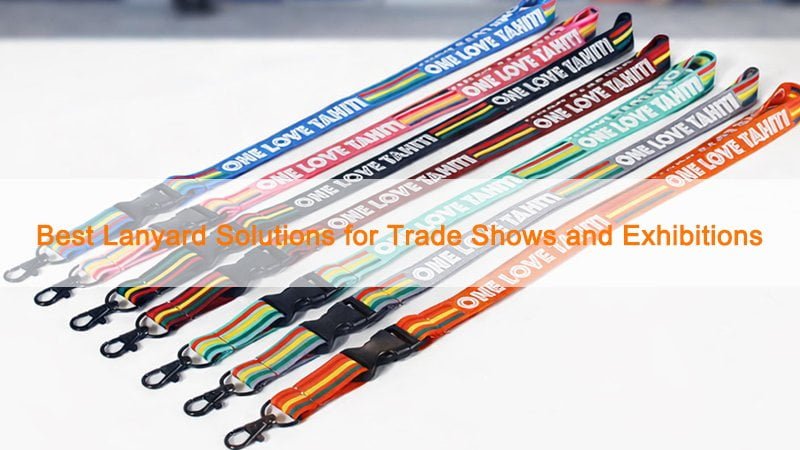
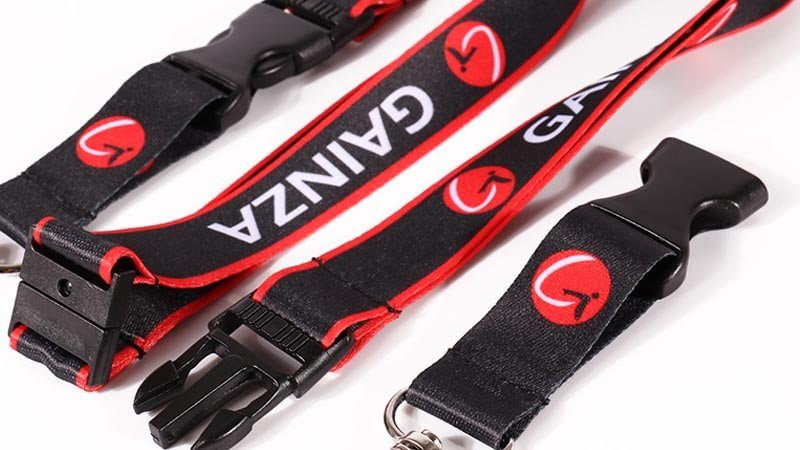
trade show lanyardsI’ve seen lanyards get treated like “just something to hang a badge.” In reality, they shape first impressions, reinforce sponsors, and solve crowd-control problems before they start.
The right trade show lanyard improves brand recall and speeds up attendee flow. This guide helps event organizers choose material, printing method, hardware, and safety features that match venue requirements, attendee tiers, and budget—without costly reorders.
I used to grab the cheapest option and call it done. Then I learned that smart lanyard planning reduces onsite chaos, upgrades sponsor visibility, and makes registration run smoother. If you’re buying for 500—or 50,000—this framework will help you avoid the common mistakes.
Why Lanyards Matter More Than You Think
Lanyards look small on paper. On show day, they can either support a controlled, professional experience—or create friction in minutes.
Lanyards do far more than hold badges. They enable visual access control, strengthen sponsor impressions, and improve onsite navigation. Done right, a single piece of event gear boosts safety, branding, and attendee flow.

I once helped manage an expo where weak clips broke constantly and attendees drifted into restricted areas. That experience made one thing clear: lanyards are an operations system, not an accessory. Start by mapping attendee types (VIP, speakers, exhibitors, staff, media, general) to clear identifiers like color, repeated role text, and compatible attachments.
Use a quick decision table like this:
| Attendee Type | Color Code | Attachment (Hardware) | Access Level |
|---|---|---|---|
| Speaker | Red | Swivel hook (metal) | All Zones |
| VIP | Gold | Lobster clasp (metal) | VIP Only |
| Press | Blue | Swivel hook (metal) | Media Lounge |
| General | Green | Swivel hook + breakaway buckle | Exhibit Hall |
This table does two things immediately: it reduces confusion at badge counters and gives staff a visual rule for routing. Before you order at scale, test color visibility under venue lighting and verify hardware strength with a loaded badge holder.
Start With Attendee Segmentation (Your Decision Framework)
Without segmentation, you waste budget on the wrong upgrades and create avoidable bottlenecks.
Segment attendees by role, access, and engagement level. Assign each segment a lanyard style, color, and credential design to streamline check-in, navigation, and access control across halls and sessions.
Segmentation should come from registration data—ticket types, workshop add-ons, exhibitor status, staff lists, and VIP approvals. A clean tier model looks like this:
-
Core: General attendees
-
Premium: Workshop access / VIP preview groups
-
Media: Press with special permissions
-
Staff: Back-of-house and operations teams
Then match each tier to durability and visibility needs. For example: core guests often fit polyester lanyards with logo and cost-efficient printing; premium groups may justify nylon or woven solutions plus upgraded metal hardware; staff often benefit from shorter lengths or badge-reel compatibility.
I always draft a simple onsite flow map: check-in stations, color zones, and where each lanyard type is distributed. It prevents “inventory drift” on show day.
Choosing the Right Lanyard Materials (Pros, Cons, Best Use Cases)
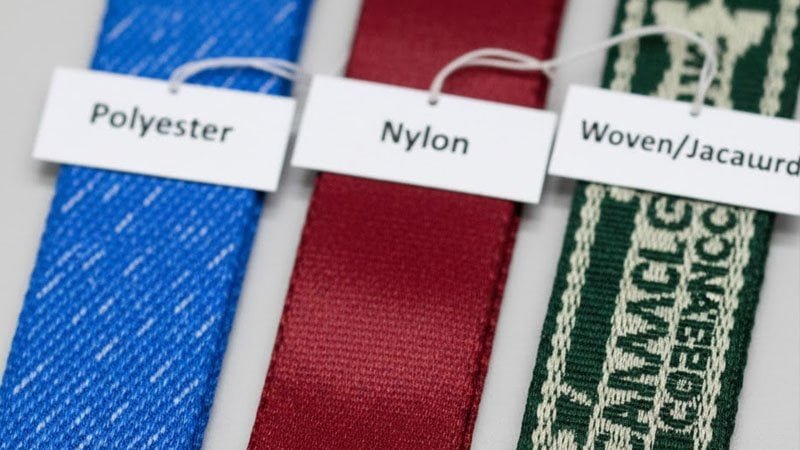
Material choice seems minor—until attendees wear it for eight hours and sponsors judge the print quality up close.
Polyester is cost-effective and prints well. Nylon and woven/jacquard feel more premium and hold up for multi-day use. For specialty use cases, consider event conditions (outdoor heat, sweat, water exposure) before committing.
I tested multiple materials at a busy event and the differences were obvious by midday:
| Material | Pros | Cons | Best Use |
|---|---|---|---|
| Polyester | Cost-efficient, vivid color, versatile for printing | Standard feel, less premium perception | Large-scale trade shows |
| Woven/Jacquard | Premium look, durable pattern integration | Higher cost, design limits for gradients | VIP, speaker, sponsor-tier lanyards |
| Nylon | Smooth finish, strong and professional look | Typically higher cost than polyester | Multi-day exhibitions, premium branding |
| Specialty (e.g., silicone) | Distinctive feel, durable in outdoor settings | Bulkier; not ideal for all badge setups | Sports events, festivals (case-by-case) |
Procurement rule: if you need volume and speed, polyester is usually the baseline. If you need premium perception, nylon or jacquard can support sponsor tiers or VIP kits. Always approve physical samples for hand-feel, print clarity, and attachment compatibility.
Printing Methods That Preserve Brand Integrity
A faded print doesn’t just look bad—it weakens sponsor value and makes your event feel less professional.
Dye-sublimation supports full-color designs, gradients, and sponsor-heavy layouts. Screen printing is crisp for simple, high-contrast logos. Woven branding delivers a textured premium look for repeat patterns and role text.
Your printing method should follow the complexity of your artwork and the visibility requirements onsite:
-
Dye-sublimation (best for full color): Great for gradients, multi-logo sponsor packs, and all-over designs.
-
Screen printing (best for bold simplicity): Excellent for solid spot colors and simple logos.
-
Woven/jacquard branding (best for premium repeating patterns): Ideal for “STAFF / VIP / EXHIBITOR” repeats and long-life premium aesthetics.
Selection shortcuts for event organizers:
-
Many sponsors + multiple colors → choose dye-sublimation.
-
Simple logo + high contrast → choose screen printing.
-
Premium VIP or staff identifiers with repeating role text → consider woven/jacquard.
I learned to always test color under venue lighting (fluorescent halls can distort reds, blues, and grays). A small pre-production approval prevents large-scale regret.
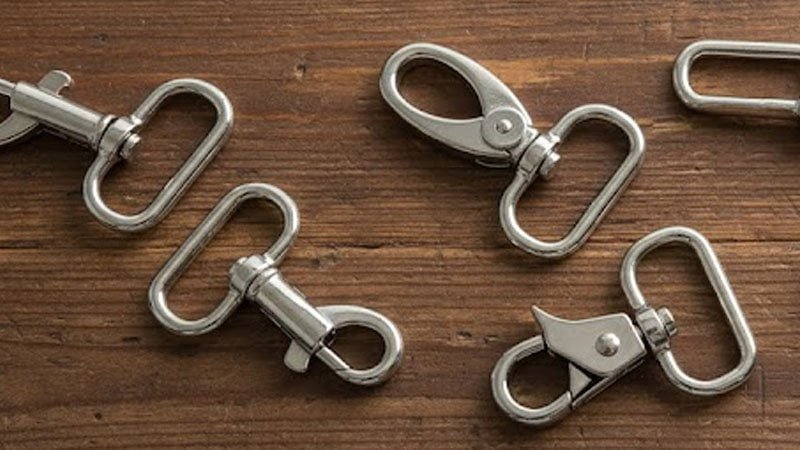
Hardware and Attachments: The Hidden Driver of User Experience
Hardware looks like a small component. It’s usually the first failure point.
Choose breakaway buckles where appropriate, and match your attachment to badge weight and badge holder type. For most trade show lanyards, a metal swivel hook is the reliability baseline.
I learned hardware matters when a speaker’s credential setup failed minutes before a keynote. Standardize around known-performing options:
-
Breakaway buckle: Reduces snag/strain risk; common for public events and busy venues.
-
Swivel hook (recommended default): Prevents twisting and keeps badges facing outward.
-
Bulldog clip: Useful for thicker cards or specific badge formats (verify it won’t slip).
-
Lobster clasp: Premium feel and strong hold for VIP kits or heavier attachments.
Operational test: assemble the real badge holder + insert + any add-ons, then run a pull and twist test for repeated handling.
Safety and Venue Requirements: What to Standardize
Safety requirements vary by venue and audience. You do not want to discover constraints during setup.
Treat safety as venue compliance and risk management. Confirm whether the venue or your event policy requires breakaway buckles, no-metal hardware, or specific material restrictions. Then request supplier specs and test samples under real conditions.
For most exhibitions, the practical approach is simple:
-
Start with venue/security guidance.
-
Request measurable specs from suppliers (for breakaway buckles, ask release force in lbs/N).
-
Document decisions in a one-page credential system spec.
Access Control and Zoning: Design for Instant Recognition
If zoning isn’t instantly visible, staff spend the whole day redirecting people.
Use color coding, repeating role text, and add-on identifiers (ribbons or tag cards) to make access rules obvious.
At a multi-hall show, I used a simple “color + tag” system and it eliminated most wrong-entry incidents. A zone matrix makes it implementable:
| Zone | Color | Add-on Identifier | Tag Text |
|---|---|---|---|
| Exhibit Hall | Green | None | “EXPO” |
| VIP Lounge | Gold | Satin ribbon | “VIP ONLY” |
| Speaker Room | Red | Tag card | “SPEAKER” |
| Media Center | Blue | Satin ribbon | “PRESS” |
| After-Party | Black | Neon ribbon | “PARTY PASS” |
This scales well because it creates one rule staff can follow: match color, confirm badge, issue add-on if needed.
Sponsorship ROI: Turn Lanyards Into Premium Inventory
Sponsors pay for visibility—and lanyards deliver repeated impressions all day.
Offer lanyard sponsorship as a premium package. Keep designs legible at a distance, avoid logo clutter, and provide tiered placement options.
One event I supported sold an exclusive lanyard sponsorship because it was high-visibility gear with long wear time. The key is packaging sponsorship as a clear menu:
| Tier | Placement | Price Model Example | Visibility Value |
|---|---|---|---|
| Platinum | Full-length dominant logo | Per-unit premium | Maximum impressions |
| Gold | Co-branded segment | Mid-tier per-unit | High visibility |
| Silver | Add-on ribbon branding | Low-tier per-unit | Targeted visibility |
Make sure the sponsor mark remains readable at 1–2 meters (real hallway distance).
Sustainability That’s Credible
If sustainability claims are vague, attendees notice—and sponsors become cautious.
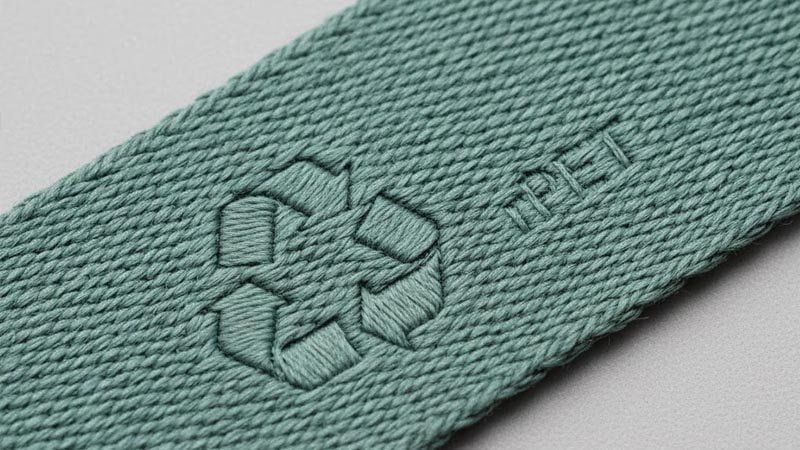
Choose recycled materials (such as rPET) when appropriate and back it with supplier documentation. Improve outcomes with reusable badge holder programs and onsite collection bins.
Sustainability works best when it’s specific and measurable:
-
Use rPET where it meets print and comfort requirements.
-
Add a return-and-reuse plan (collection bins + signage).
-
State what’s recycled and what happens after the event.
Operations Planning: Quantities, Packaging, Distribution, and Contingency
Shortages and mis-sorted cartons cause registration slowdowns and staff stress.
Plan a buffer, pack by role, label clearly, and stage inventory across check-in and key zones. A simple contingency kit prevents small issues from becoming show-stoppers.
I build a supply map before every show:
-
Order buffer typically 5–10% extra (higher for staff/exhibitor replacements).
-
Stage inventory across check-in, onsite reserve, and zone bins.
-
Prepare an emergency kit (spare hooks/buckles + universal backup lanyards).
A straightforward staging plan:
-
Main storage: 70%
-
Onsite reserve: 20%
-
Emergency packs: 10%

Recommended Lanyard Bundles for Trade Shows
Bundles shorten procurement time and reduce decision fatigue across teams.
Standardize your main attendee volume with one package, then add a premium kit for VIP/speakers.
Here are three practical packages:
| Bundle | Typical Use | Material | Hardware | Safety Feature | |
|---|---|---|---|---|---|
| Starter | Small shows / tight timelines | Polyester | Screen print | Swivel hook | Breakaway buckle |
| Pro (Most Common) | Mid-large trade shows | Polyester | Dye-sublimation | Swivel hook | Breakaway buckle |
| Premium Add-On (VIP/Speaker) | VIP / speaker kits | Nylon or Woven/Jacquard | Premium print / woven pattern | Lobster clasp or premium swivel | Optional breakaway (by policy) |
Common Mistakes and How to Avoid Them
Most failures come from skipping sample approval and underestimating operational details.
Don’t skip samples, don’t ignore venue requirements, and don’t under-order buffer stock.
Three avoidable pitfalls:
-
No physical sample approval → color shifts and weak hardware.
-
Unclear venue/security requirements → rework onsite.
-
Under-ordering spares → emergency replacements at premium cost.
Conclusion
Smart lanyard procurement reduces onsite confusion, increases sponsor value, and supports a professional attendee experience. If you adopt one habit, make it this: segment your attendees, standardize your hardware, and approve physical samples before mass production.